Written on October 29th, 2015 , Technical, Video

Written on October 29th, 2015 , Technical, Video

rafale2

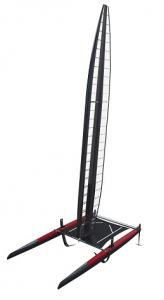
Formé d’étudiants de l’École de technologie supérieure de Montréal, c’est en septembre 2013 que Rafale a vu le jour dans le but de faire de la voile compétitive. Rapidement, le groupe a pris de l’ampleur, prenant en charge la réalisation d’un projet technique d’envergure internationale: la conception et la fabrication d’un catamaran Class C.

Info: ici

Class-C

grabber

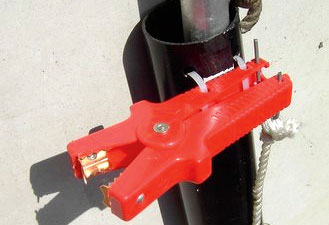
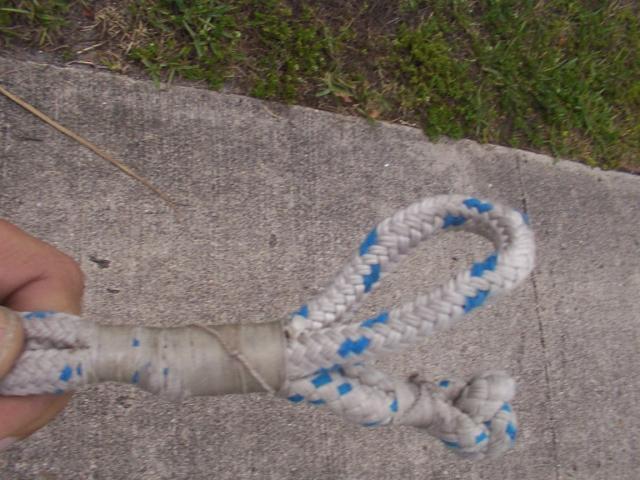
On my previous boat, a 12m (40ft) ketch, if a halyard escaped to the top of the mast all I had to do was unfold the mast steps and climb up to retrieve it.However, on my current Sailfish 25 it’s impractical to climb the mast or even lower it easily, but with a few minutes thought, a few minutes work and no cost I made this device, which works a treat.

Read More here

paint

Written on April 23rd, 2015 , Info, Technical Tags:

Info Ici

Written on April 17th, 2015 , Technical Tags: ,

running-aground-opener-535x400

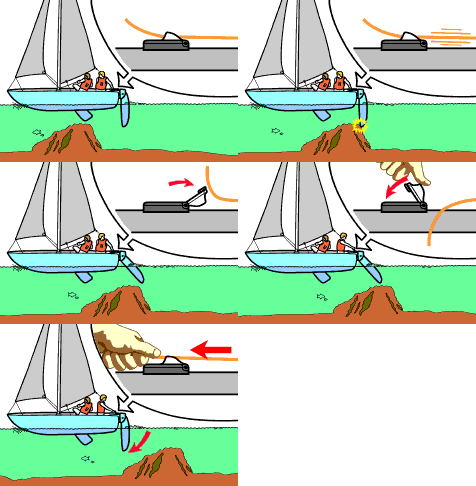
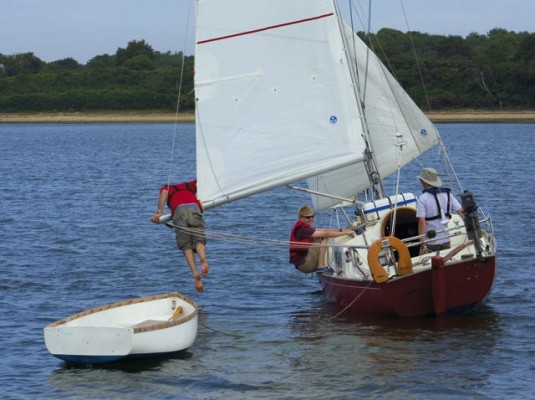
Whether you go to sea under power or sail, you’ll almost certainly find yourself aground at some point in your on-water career. It’s one of the hazards of the sport – you could even argue a fair case that if you haven’t gone aground at some point, you haven’t been trying hard enough.

Read more at here

Written on February 13th, 2015 , Technical Tags:

Un un vidéo-clip très cool introduisant la nouvelle collection Neil Pryde voile pour 2015. Prenez cinq minutes et jeter un oeil!
Very slick video introducing the latest Neil Pryde windsurf collection for 2015. Grab a brew,take five minutes and have a peek!


Les voiles Neil Pryde  chez Boathouse contactez nous:

Neil pryde sails at Boathouse contact us:

1-800-361-2966

Written on February 1st, 2015 , Technical, Video Tags:

Neil Pryde Sails a travaillé avec Wilhelm Schurmann un ancien champion Boardsail Neil Pryde  et son nouveau projet Expedicaoriente, Ce était un grand projet, la grand-voile “P” = 28m / 92 ‘(!) . Les voiles sont en Dacron pour la longévité avec des chute à deux plis sur à peu près tout. Ces images mettent en évidence les voiles, mais aussi les paysages incroyables dans et autour de Tierra del Fuego. Incroyable!


Neil Pryde Sails  worked with Wilhelm Schurmann a former Neil Pryde Boardsail Champion and his new project Expedicaoriente,  It was a big project, the mainsail “P” is 28m/92′ (!) and required some very special hardware. The sails are dacron for longevity with two-ply leeches on just about everything. Thesepictures highlight the sails, but also the INCREDIBLE landscapes in and around Tierra del Fuego. Amazing!

[slideshow_deploy id=’2035′]

Neil-Pryde-logo

Les voiles Neil Pryde  chez Boathouse contactez nous:

Neil pryde sails at Boathouse contact us:

1-800-361-2966

Written on February 1st, 2015 , Croisière/Cruising info, Info, Photos, Technical

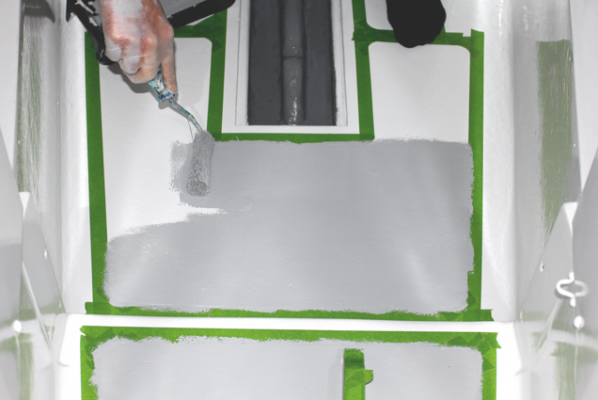
deck-paint-tested-598x400

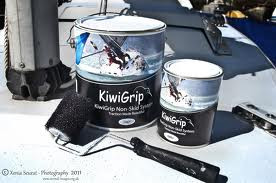
PBO tested deck paints and some DIY alternatives to see which offers the best grip -here are the results of our season’s tests
Read more at here


kiwi_large

Written on January 29th, 2015 , Info, Technical Tags: , ,

tune rig

Written on December 21st, 2014 , Info, Technical Tags: ,


Here is an excerpt for a sailing  forum  article on head sail reefing :

That’s pretty much it. I have an extra pennant on the jib at the reefing tack. That stays on always. I just snap it in down at the tack shackle. The sheets get moved up to  the reefing leech grommet. I use a button arrangement so it’s quick and easy to change. Then the bunt of the sail gets rolled and tied just like a main sail would, although knot’s are much more important on the jib that they be tied tightly and neatly. Whole thing takes just a few minutes.

This is the best pic I can find of the jib with it’s reefing points. I have since added permanent nettles at each point.

1286726145Here’s how I attach my jib sheets (soft shackle)

1286726529

1286726640

Charlie J
Sailing on S/V Tehani
Meridian 25


The entire thread can be found here


riggingJPG

Written on November 7th, 2014 , Technical

Voici un extrait d’un article d’un forum de voile sur la prise de ris d’une voile d’avant:

Le point d’amure et les écoutes sont déplacés jusqu’aux œillets de la bande de ris . À l’extrémité de l’écoute, je fais une manille souple qui permet un changement de voile rapide et facile. La bordure de la voile est enroulée comme pour la grande voile sauf que les noeuds des garcettes sont bien serrés et proprement fait. Ainsi, la prise de ris se fait en quelques minutes.

Ceci est la meilleure photo que j’ai prise de la bande de ris sur le foc. Depuis, j’ai ajouté les garcettes fixées aux oeillets de la bande de ris.


1286726145

1286726529

1286726640

Charlie J
S/V Tehani
Meridian 25

La totalité de la conversation peut être trouvé ici


sert

Written on November 6th, 2014 , Technical


fxlogo_vectorized

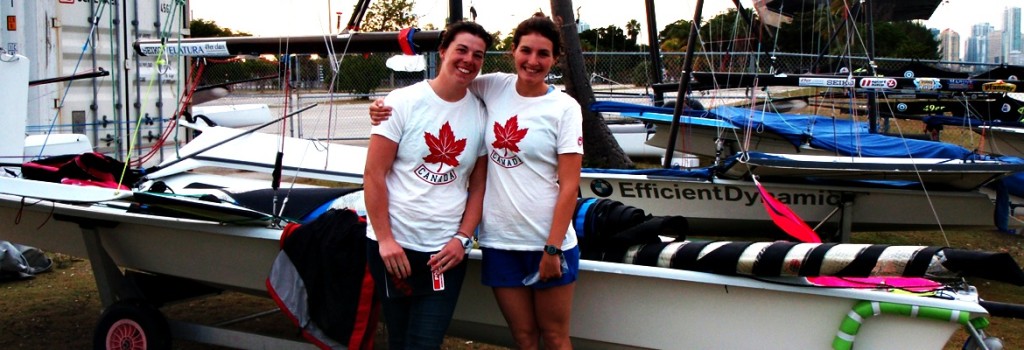
We are Arielle Morgan and Heather Myatt, a 49erFX sailing team from Montreal, Quebec and our goal is to qualify and compete in the 2016 Olympics in Rio de Janeiro, Brazil. 

We are Canadian Team Identified Athletes and members of the Quebec Sailing Team at the Elite level and are training hard to qualify for the Canadian Sailing Team by January 2015. Our training and racing plans bring us all over North America and to Europe to train and compete at the highest level.


OLYMPUS DIGITAL CAMERA

Background

It all began in 2007 when we teamed up on the Royal St. Lawrence Yacht Club’s 420 Race Team in Montreal, QC. Arielle as skipper and Heather as crew. From there we competed extensively throughout Canada and the United States for 3 years producing high results on the Canadian Junior Circuit. In 2010 we graduated up to the 29er. Combining teaching sailing at RStLYC and racing, we competed on the Canadian 29er Grand Prix circuit for two years.


The 49erFX

At the end of our 2012 29er season, we took a step back and realized we had a strong desire to go farther in sailing, that’s when the 49erFX program began. Selected as Elite members of the Quebec Sailing Team in Fall 2012 we stepped up our training, set some big goals and we were on the way to full time, competitive Olympic Training.

This team has been going strong for 8 straight years, we believe that the hard work and the time we’ve put in together gives us an advantage when it comes to on the water trust, chemistry, and team-work. With our strong work ethic and desire to be the best we are ready to give it all we have to make this program successful. Click on Get on Board to see how you can join Morgan Myatt Sailing and help us take this all the way!


Read more about Arielle and Heather here


Written on October 29th, 2014 , Regattas, Technical
  • If covering a sail boat use the mast as the tent ridge pole  otherwise its not a bad plan to create a structure with wood or pvc tubing. The idea is to shed snow such that the weight of the snow and ice do not damage the boat. Be sure to support the mast well to avoid having it bend over the winter.
  • Its a good idea to remove stanchions as its hard to create a snow shedding structure with them in place. You will also avoid damaging them by removing them
  • Make sure there are no flat areas where snow can accumulate, a bit of propping up in some ares may be necessary.
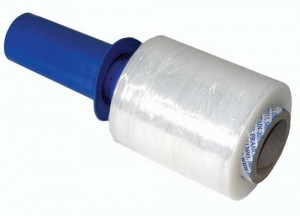
  • Sharp edges, corners and protrusions are murder on a tarp…they wear holes through tarps within days . Prevent this problem by covering those sharp edges with strips of old carpet, rags even an old PFD will work. Use duct tape or plastic wrap to secure them in place.  Plastic wrap is also a good option for wrapping  the rigging around the mast.  Plastic wrap is now widely available at dollar stores for a few bucks a roll.
  • If you are using last year’s tarp it’s a good idea to insect it prior to placing it on the boat. Its much easier to patch a hole while the tarp is laid down on the ground  rather than 10 feet up. Holes can be repaired with duct tape , red sheathing house wrap tape or gorilla tape.

TE038P

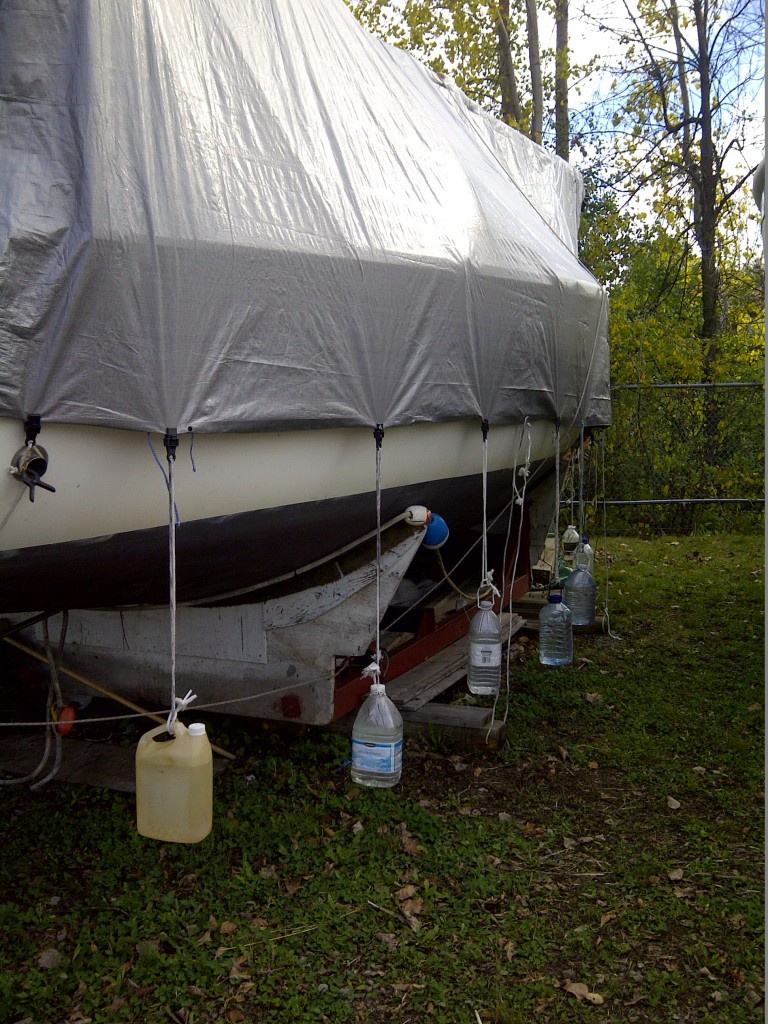
  • Movement is death to a tarp, a fluttering tarp will be destroyed in a single season . Tying down a tarp such that it is as immobile as possible  is vital.  The unusual approach is to use a lot of 1/4″  rope to tie the tarp to the cradle , trailer and around the boat. Another more effective approach is to  pin the tarp down in 4-6 spots on the cradle and then weighing  the tarps edges down at the grommets.  Sand filled jugs can be used to weigh down the tarp but  water filled containers work just as well. The containers can be 2 liter pop, juice or laundry detergent jugs. They are readily available  and are recyclable . Four  liter water or antifreeze jugs work well too.
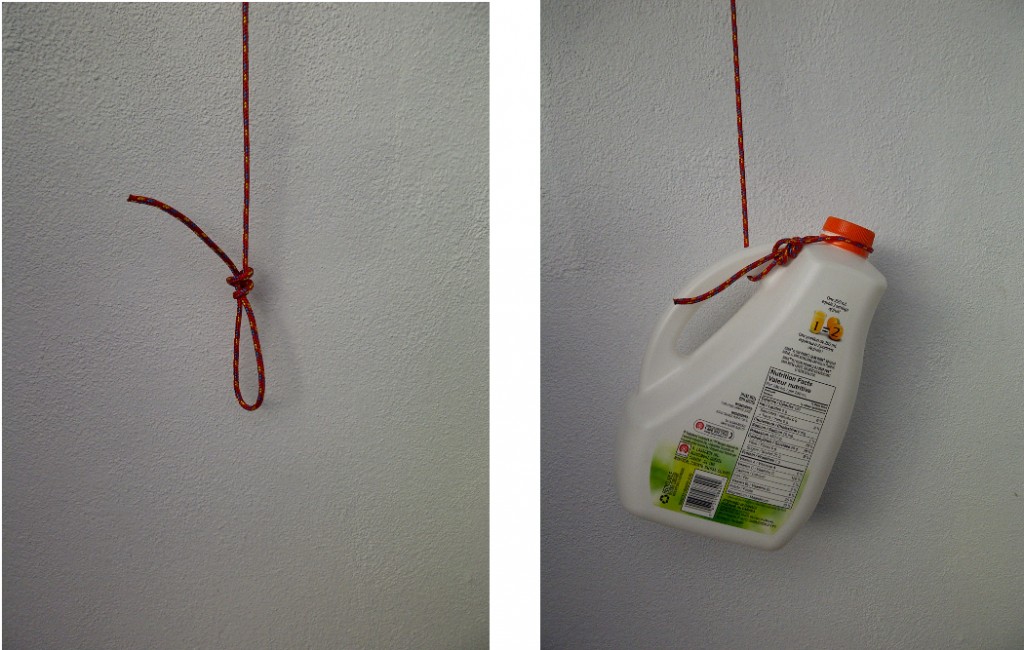
  • You can save yourself a lot of time and rope by opting for the following  method of tying on jugs.  Cut off a foot of 1/4″ line, tie one end to a tarp grommet and make a 2″ loop at the other end. Lead the loop through the jug handle and wrap the loop around the jug cap as in the photo below. The beauty of this is that you can easily remove the jugs and your tarp is ready for storage.  Next year all you need to do is collect another bunch of jugs.

jug

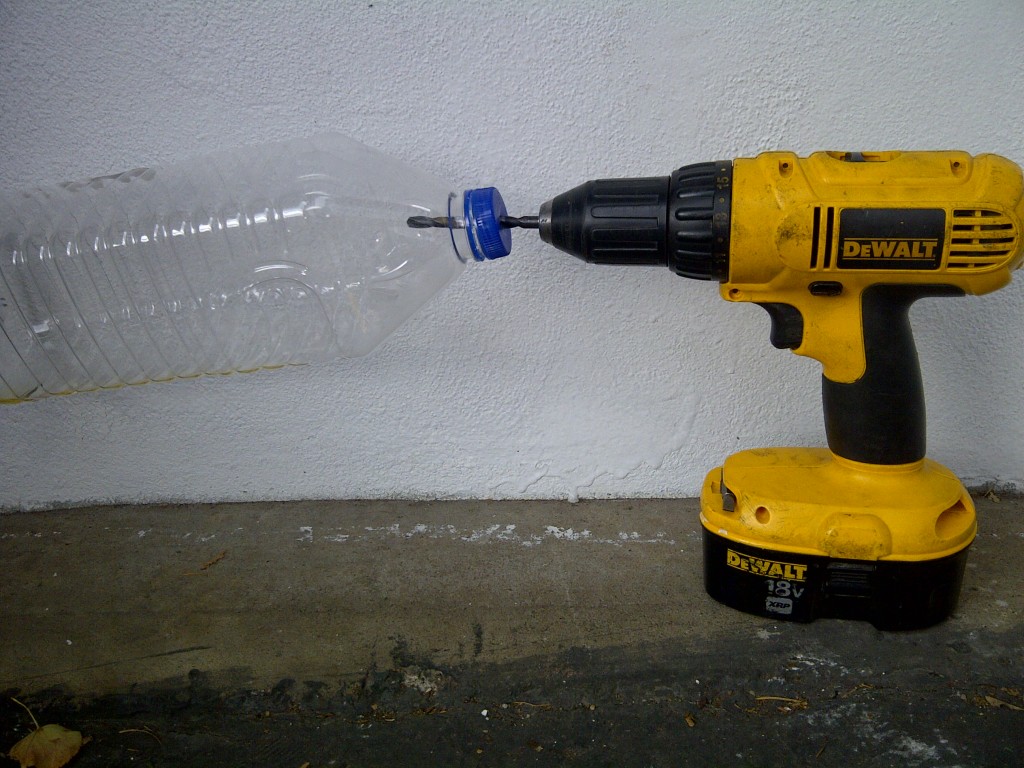
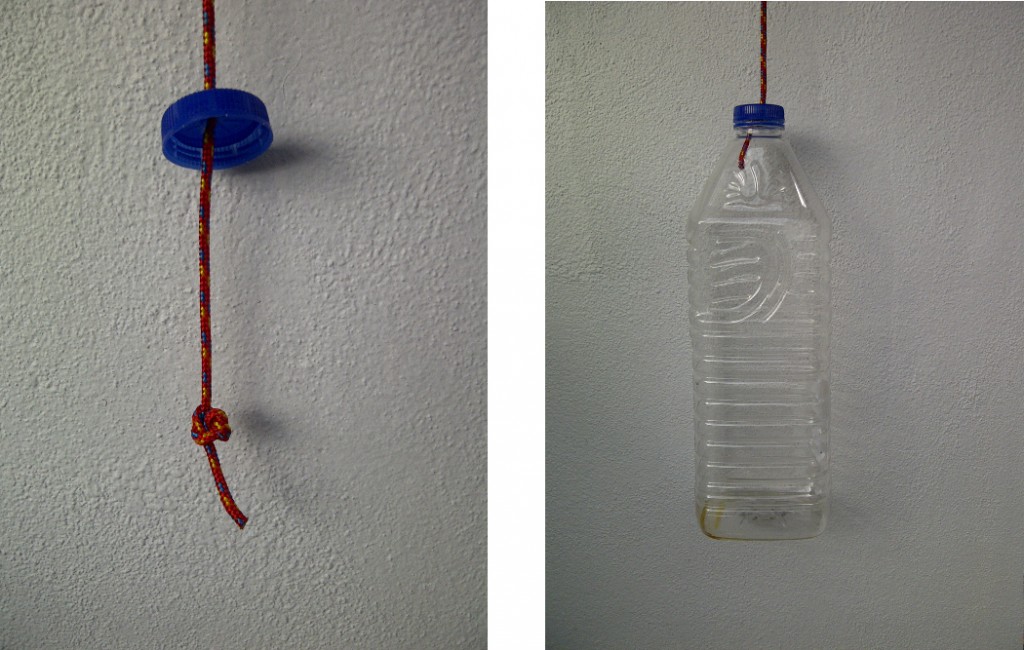
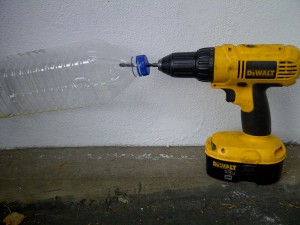
  • If you drink a lot of pop or juice use the following method.  Drill a hole though the bottle cap of a pop bottle . Cut a 1′ section of 1/4″ rope and tie a not in one end. Thread the rope through the bottle cap such that the knot is inside the cap. Fill the bottle with water cap it the tie the other end to a grommet

IMG-20141026-00145


jug2

  • Make sure the jugs are well off the ground. If they are set too low accumulating snow and wind will lift them off the ground making them ineffective.
  • Weight down the bow and stern sections of the tarp with 2-3 jugs.
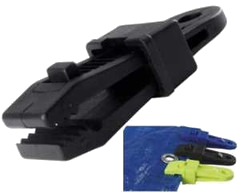
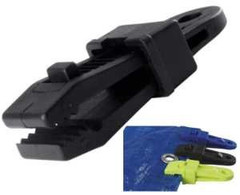
  • Tarp clips may be purchased if the tarp has insufficient or ripped through grommets or if you wish to add more weight to the tarp.

0002100005_medium

  • Make sure the tarp has good ventilation, or mildew can become a problem.  Leave an opening at the front and back of the tarp in order the allow for adequate ventilation
  • A battery-powered AM radio left playing and tuned to an all-talk station will deter critters from moving in for the winter. This is especially applicable  in late fall.
  • Check up on you boat regularly throughout the winter adjust and tighten the tarp as required. Over the years you will learn where the weak spots are and also where snow and ice accumulate. Adjust accordingly


IMG-20141027-00152

———————————————————————–

 Available at boathouse
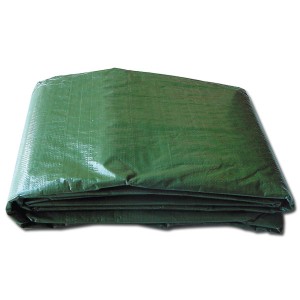
BacheHigh quality Tarps

5242760036_largeGorilla tape

 clipTarp Clips


Disclaimer for boatshouse.ca.

The information articles provided is for general purposes only and intended to help you make better decisions about your boat and boating equipment. Such information is not intended to substitute for instructions from the manufacturer, dealer or marina about your specific boat or boating equipment and Boathouse specifically disclaims any liability for damage to your boat or equipment arising from your following these suggestions. For more details about your equipment or application, we suggest you contact the manufacturer of your boat or other equipment.

Written on October 26th, 2014 , Technical
  • Utiliser le mât pour former le faîtage sur laquelle la bâche sera déposée pour couvrir le voilier. Une structure en bois ou en pvc incorporée au mât empêchera l’accumulation de la neige et de la glace. Assurer vous de soutenir le mât afin d’éviter un affaissement de la structure et d’ endommager le bateau.
  • Retirer les chandeliers afin que la pente de la bâche permette une évacuation plus facile de la neige ou de la glace. Également, vous prévenez tout dommage aux chandeliers.
  • Assurez-vous qu’il n’y a pas de zones plates où la neige pourrait accumuler. Un peu de soutènement en quelques endroits pourrait- être nécessaire.
  • Les bords de coins et de saillies sont meutriés sur une bâche. Ils font des trous en quelques jours. Éviter ce problème en couvrant les arêtes vives avec des bandes de vieux tapis, de chiffons ou même avec une vielle veste de flottaison. Utilisez du ruban adhésif ou une pellicule de plastique pour les fixer en place. La pellicule de plastique est également une bonne option pour envelopper le gréement autour du mât. La pellicule de plastique est maintenant largement disponible dans les magasins à bas prix pour quelques dollars le rouleau.
  • Si vous utilisez la bâche de l’année dernière, éliminer les insectes et nettoyer la. Il est beaucoup plus facilement de réparer les trous lorsque la bâche repose sur le sol que sur le mât. Les trous peuvent être réparés avec du ruban adhésif, du Ruban de recouvrement pour isolant extérieur (rouge) ou du ruban adhésif  Gorilla Tape

TE038P

  •  Une bâche qui n’est pas ajustée correctement sera détruite en une seule saison. Lier la bâche de telle sorte qu’elle est aussi immobile que possible. L’approche courante est d’utiliser un lot de corde de 1/4 de pouce pour attacher la bâche au berceau, à la remorque et autour du bateau. Une autre approche plus efficace consiste à fixer la bâche à 4 à 6 endroits sur le berceau et installer des contrepoids sur les œillets restants. Des cruches remplies de sable peuvent être utilisées pour tendre la toile. Des récipients remplis d’eau fonctionnent tout aussi bien. Les contenants de 2 litres de boissons gazeuses, de jus ou de détergent à lessive peuvent être utilisés. Ils sont facilement disponibles et recyclables. Les  bouteilles d’eau ou d’antigel de 4L fonctionnent aussi bien.
  • Vous pouvez vous épargner beaucoup de temps en optant pour la méthode des contenants. Couper une corde de 1/4 pouce en longueur de 1 pied. Attacher une extrémité à un œillet de la bâche et faire une boucle de 2 pouces à l’autre extrémité. Diriger la boucle à travers la poignée du contenant et envelopper la boucle autour du bouchon comme sur la photo ci-dessous. La beauté de ceci est que vous pouvez facilement enlever les contenants et votre toile est prête pour le remisage. L’année prochaine, tout ce que vous devez faire est de recueillir une autre quantité de contenants.

jug

  • Les contenants de boissons gazeuses ou de jus peuvent être utilisés selon la méthode suivante. Percez un trou sur le bouchon de la bouteille. Coupez une corde de ¼ de pouce et d’une longueur 1 pied et faire un nœud à une extrémité. Enfilez la corde dans le bouchon de la bouteille de telle sorte que le noeud est à l’intérieur du capuchon. Remplir la bouteille avec de l’eau, visser le bouchon et attacher l’autre extrémité de la corde à un œillet

IMG-20141026-00145

jug2

  • Assurez-vous queles contenants ne touchent pas au sol. S’ils sont trop bas, l’accumulation de neige et le vent les déplaceront et les rendront inefficaces.
  • Les extrémités de la bâche situées à la proue et à la poupe seront fixées avec 2 ou 3 contenants.
  • Des épingles à bâche peuvent être ajoutées si la bâche n’a pas suffisamment d’œillets ou que des œillets sont endommagés ou que vous souhaitez ajouter plus de contenants.

0002100005_medium

  • Assurez-vous qu’ il y a une bonne ventilation afin de prévenir la moisissure.Laisser une ouvertureà l’avantet à l’arrièredela bâchepourlapermettre une ventilationadéquate
  • Une radio AM fonctionnant avec des piles et synthonisée sur une station ayant une programme 24/24 heures dissuadera les intrus à s’introduire à l’intérieur de l’embarcation. Cela est particulièrementapplicableen fin d’automne.
  • Tout au long del’hiver, vérifiezrégulièrementvotre bateau, ajusteretserrerla bâcheau besoin.Au fil des ans, vous apprendrez oùles points faiblessont et égalementoù la neigeet la glace s’accumulent. Ajustez en conséquence

IMG-20141027-00152

Avertissement de boathouse.ca.

Les conseils fournis sont à titre indicatifs et destinés à vous aider à prendre de meilleures décisions au sujet de votre bateau et de l’équipement nautique . Ceux-ci ne remplacent pas les instructions du fabricant, du détaillant ou de la marina relativement à votre bateau ou aux  équipements des bateaux.

Boathouse décline expressément toute responsabilité pour les dommages à votre bateau ou de l’équipement résultant de ces conseils ou suggestions. Pour plus de détails au sujet de vos équipements ou de votre bateau, nous vous suggérons de contacter le fabricant de votre bateau ou de tout autre équipement.


Disponible chez Boathouse


Bâche de qualité supérieure

Bache

Gorilla Tape

5242760036_large

Épingle pour bâche

clip

Written on October 26th, 2014 , Technical

looker

Written on October 22nd, 2014 , Technical Tags:

77227844.dv2cAn4V

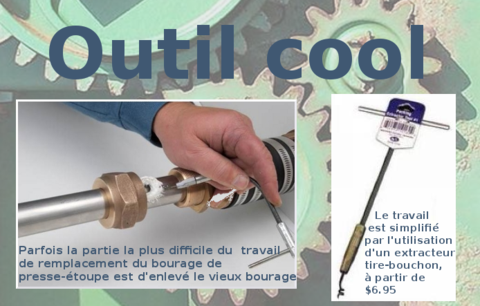
Voici un article de Compass marine sur la façon de changer le bourage du presse-étoupe.

(traduit avec Google translate)

Page 1

Page 2

Page 3


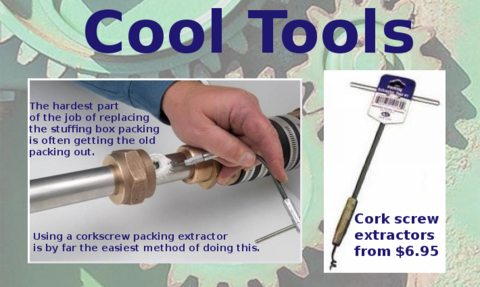
Here is an article from Compass marine on how How to change the stuffing box packing:

Here


gears_fr_large

gears_large0002604231_large0297210002_large


winter_english_560 

 1

Empty lockers of perishables. Also take off any cans or bottles containing liquids that could freeze.

 2

Clean out refrigerator, ice box and freezer. Block door open and leave an open box of baking soda inside to absorb odors.

 3

Remove sails, bimini, dodger and canvas, inspect and have repaired if necessary. Suggestions

 4

Check mast rigging. Make sure nothing was damaged during the season’s use, have damage repaired over the winter. Suggestions

 5

Check running rigging Make sure nothing was damaged during the season’s use, have damage repaired over the winter. Suggestions

 6

Furling systems:  flush all open bearings with warm fresh water and lubricate. 

 7

Service winches Product suggestions

 8

Remove compass

 9

Remove electronics

 10

Open lockers and drawers and hatches

 11

Prop up cushions keep them dry

 12

Install a dehumidifier in cabins and enclosed areas to help prevent mildew growth. Product suggestions

 13

Pump out holding tanks.

 14

Flush the toilet with antifreeze. Product suggestions

 15

Fill discharge and intake hoses with antifreeze.

 16

Empty shower sumps

 17

Drain the water heater

 18

Empty propane lines, light a burner on the galley stove and any other gas appliances–then turn off the manual valve on the propane tank.

 19

Remove bilge drain plug and make a note of where you have placed it.

 20

Make sure bilges are clean and dry

 21

Drain bait well and/or wash down pumps and hoses

 22

Lubricate and exercise the seacocks–all of them–before closing them for the winter

 23

Inspect and repair all electrical wiring and connections. Make sure nothing was damaged during the season’s use.

 24

Remove boat batteries and store in a cool dry place. Clean battery poles.  Place batteries on a smart charger or charge them approximately once a month.

 25

Check all anodes and replace as necessary. Product suggestions

 26

Thoroughly wash the boat hull removing all stains, dirt or debris. Product suggestions

 27

Cover the boat with a fresh coating of wax. Product suggestions

 28

Remove the propeller and check thoroughly for damage. (Now is the time to replace or service a damaged propeller, Not at the start of the next season.)

 29

Clean the propeller shaft and apply a protective coating of grease.

 30

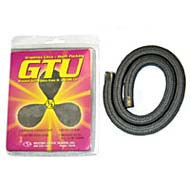
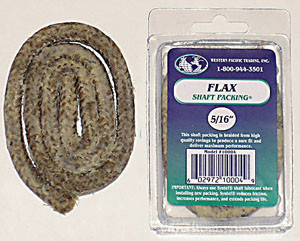
Check stuffing box packing and replace if necessary  (inboards)  Product suggestions

 31

Check cutlass bearing for wear and replace if necessary

 32

Change crankcase and gear case oil while engine is warm and run the motor afterwards to distribute fresh oil throughout the power head. Product suggestions

 33

Change oil filters.

 34

Change gas filters 

 35

Flush the engine with fresh water and drain. (outboards)

 36

Circulate antifreeze through engine block and manifolds. (inboards) Product suggestions

 37

Drain vapor separator tank of fuel by drain screw (Fuel Injected Motors).

 38

On carburetted outboard motors, drain the carburetor float bowls.

 39

Change transmission fluid (Inboards). Product suggestions

 40

Change foot oil (outboards) Product suggestions

 41

Apply touch-up paint to engine as needed.

 42

Fog the engine by spraying fogging fluid into each of the carburetors or  inlet manifold and turn the engine over a few times (without starting) to spread the oil over cylinder walls. Product suggestions

 43

Wipe down the engine with a shop towel sprayed with a little fogging oil.  Product suggestions

 44

Check the motor for loose, broken or missing fasteners. Tighten fasteners and make necessary repairs.

 45

Perform a complete lubrication service on the boat and motor. Product suggestions

 46

Remove hoses from raw water pump.

 47

Check water pump impeller

 48

Drain water lift muffler.

 49

Fill permanently installed fuel tanks with fuel to prevent the formation of condensation.

 50

Add appropriate amount of fuel stabilizer to fuel tanks. Product suggestions

 51

Remove portable fuel tanks to safe, well-ventilated area. Drain plastic tanks and top-off metal tanks. Drain attached fuel lines.

 52

Place the trailer on stands or blocks so the wheels are supported off the ground. Raise the bow higher than the stern to promote draining of rainwater or snow.

 53

Remove trailer wheels to clean and repack the wheel bearings.

 54

Secure all hatches and ports.

 55

Inspect and caulk windows and hatches. Product suggestions

 56

Inspect and repair stanchions, grab- and handrails.

 57

Cover boat with a high-quality cover

Disclaimer for boatshouse.ca.

The information articles provided is for general purposes only and intended to help you make better decisions about your boat and boating equipment. Such information is not intended to substitute for instructions from the manufacturer, dealer or marina about your specific boat or boating equipment and Boathouse specifically disclaims any liability for damage to your boat or equipment arising from your following these suggestions. For more details about your equipment or application, we suggest you contact the manufacturer of your boat or other equipment.

Written on October 9th, 2014 , Technical Tags:


Written on September 14th, 2014 , Croisière/Cruising, Croisière/Cruising info, Technical, Video

ships

Ici-Here


Written on August 26th, 2014 , Nouvelles/News, Technical Tags: ,

Here is an Article from YachtPals on how to cobble together a weather fax

computerdog

En Francais (plus ou moins)


Written on August 15th, 2014 , Technical Tags: , ,


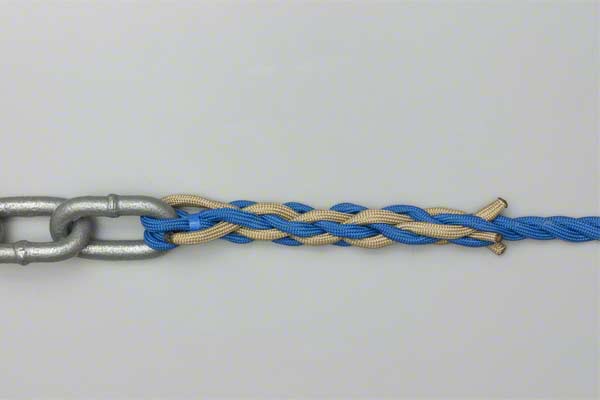
chainspliceR25


Written on June 29th, 2014 , Technical, Video Tags: ,

June 3rd, 19 year old Boyan Slat announced The Ocean Cleanup concept is likely feasible. To help fund the major next step of this project, The Ocean Cleanup …
Ocean Cleanup site

Written on June 24th, 2014 , Environment, Technical, Video Tags: ,

Boathouse Blog is proudly powered by WordPress and the Theme Adventure by Eric Schwarz
Entries (RSS) and Comments (RSS).

Boathouse Blog

Boathouse blog